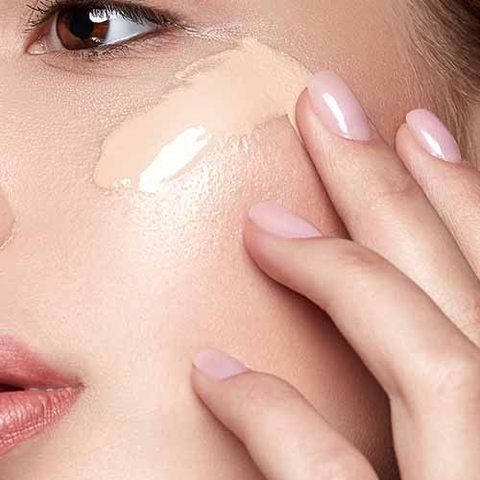
Flawless Radiance: How to Apply Tinted Moisturizer in 5 Steps
Achieving a radiant and flawless complexion has never been easier, thanks to this versatile beauty product. Whether you're a makeup aficionado or a beginner looking for a simple daily routine, tinted moisturizer offers the perfect balance between skincare and makeup. In this guide on how to apply tinted moisturizer, we'll walk you through every step of the application process, from selecting the right shade to achieving a seamless finish.
1. What is a Tinted Moisturizer?
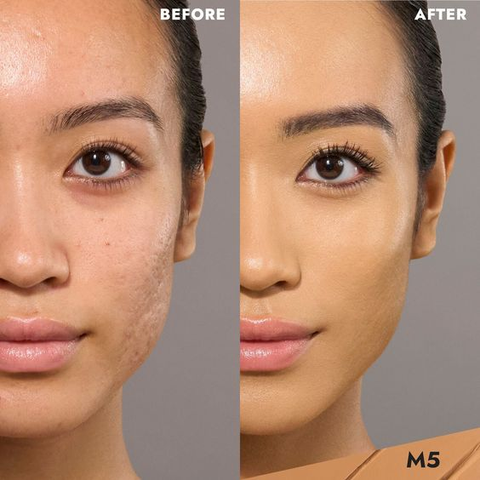
Tinted moisturizer is a versatile cosmetic product that combines the benefits of a moisturizer with a touch of color, typically in the form of sheer pigmentation. Its primary purpose is to hydrate the skin while providing a subtle tint, creating a balanced and naturally radiant complexion. Unlike heavy foundations, tinted moisturizers offer a lightweight, breathable alternative for those seeking a more natural and dewy finish.
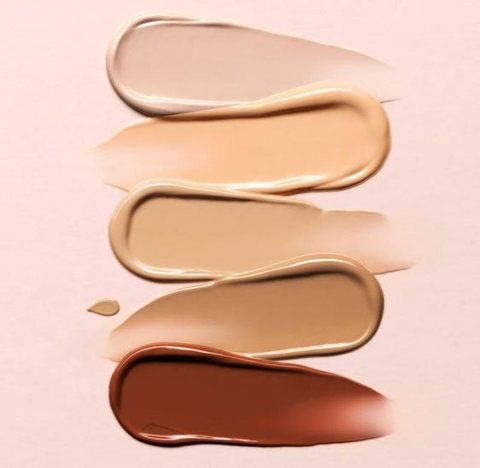
Tinted moisturizer combines the benefits of a moisturizer with a touch of color, typically in the form of sheer pigmentation (source: Pinterest).
They are formulated with essential skincare ingredients like hyaluronic acid, vitamins, and SPF protection, ensuring that the skin not only looks good but also receives nourishment and sun defense. Learning how to apply tinted moisturizer effectively can help you achieve a natural, radiant complexion. Tinted moisturizers are ideal for those who prefer minimal makeup or a "no-makeup" look, making them a fantastic addition to any daily beauty routine. Knowing what tinted moisturizer is, you are ready to learn how to put on tinted moisturizer.
2. Selecting the Right Tinted Moisturizer
2.1. Understanding your skin type
Different skin types have unique needs, and understanding how to apply tinted moisturizer with the right product can make a significant difference in the final result.
- Dry Skin: If your skin tends to be dry, opt for a tinted moisturizer with hydrating ingredients like hyaluronic acid or glycerin. These products provide essential moisture, preventing your skin from feeling parched throughout the day.
- Oily or Acne-Prone Skin: For those with oily or acne-prone skin, look for oil-free or mattifying tinted moisturizers. These formulas help control excess oil and shine, reducing the risk of clogged pores and breakouts.
- Combination Skin: If your skin is a combination of oily and dry areas, choose a tinted moisturizer that strikes a balance. It should hydrate dry zones while keeping oiliness in check.
- Sensitive Skin: Individuals with sensitive skin should opt for hypoallergenic and fragrance-free tinted moisturizers. These are less likely to cause irritation or allergic reactions.
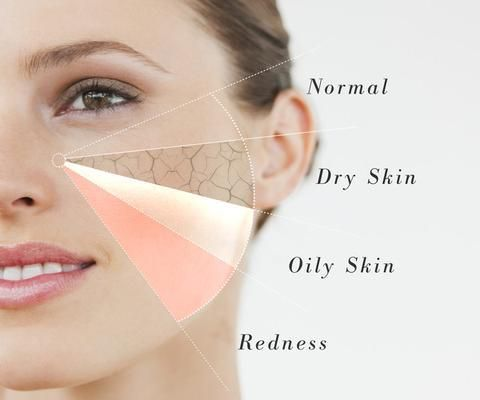
Selecting a product that caters to yours can make a significant difference in the final result (source: Pinterest).
2.2. Choosing the appropriate shade
Selecting the right shade of tinted moisturizer is essential for achieving a natural and flawless look.
- Undertone Awareness: Skin undertones typically fall into three categories: warm, cool, and neutral. Warm undertones tend to have hints of yellow or peach, while cool undertones lean towards pink or blue. Neutral undertones strike a balance between warm and cool.
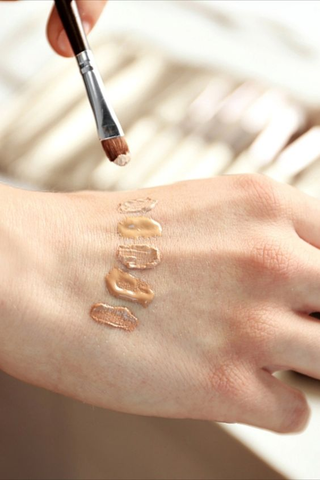
- Sample Shades: The best way to find your ideal shade is through sampling. Visit a cosmetics store or counter where you can test different shades on your jawline or wrist. This allows you to see how the tinted moisturizer blends with your skin and how well it matches your undertone.
- Trial and Error: Skin tones can change with the seasons, so consider having multiple shades for different times of the year when your skin tone may vary.
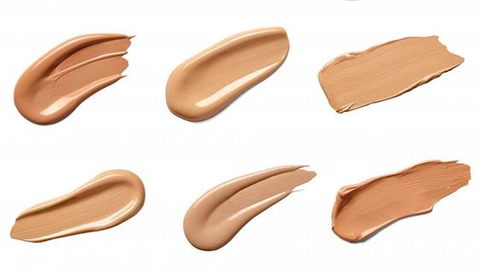
The right shade of tinted moisturizer is essential for achieving a natural and flawless look of your skin (source: Pinterest).
2.3. Checking for additional skincare benefits
Apart from providing coverage and hydration, many tinted moisturizers offer various skincare benefits:
- Sun Protection (SPF): Tinted moisturizers with SPF provide a convenient way to shield your skin from harmful UV rays. It's crucial to choose a product with an adequate SPF level, ideally SPF 30 or higher.
- Anti-Aging Ingredients: For those concerned about aging, certain tinted moisturizers contain ingredients like peptides or retinol to minimize the appearance of fine lines and wrinkles.
- Hydration and Moisture: Look for hydrating ingredients such as hyaluronic acid or glycerin. These additives keep your skin moisturized and comfortable throughout the day.
3. Preparation before learning how to wear Tinted Moisturizer
3.1. Cleansing and moisturizing your face
Before going to the process of how to use tinted moisturizer, it's crucial to start with a clean canvas. Begin by gently cleansing your face using a mild, hydrating cleanser. This helps remove any dirt, excess oil, or impurities that may be on your skin's surface. After cleansing, pat your face dry with a clean towel, being careful not to rub or irritate your skin.
Next, apply a lightweight, non-comedogenic moisturizer suitable for your skin type. This step is essential as it ensures your skin is adequately hydrated, creating a smooth base for the tinted moisturizer. Hydrated skin also helps the product blend seamlessly, preventing any patchiness or uneven coverage.
3.2. Sunscreen application
One of the key benefits of tinted moisturizers is their potential to provide sun protection. However, if your chosen product doesn't have sufficient SPF or you desire extra sun protection, apply a broad-spectrum sunscreen before the tinted moisturizer. Allow the sunscreen to absorb into your skin for a few minutes before moving on to the next step. Sunscreen not only shields your skin from harmful UV rays but also helps prevent premature aging and skin damage.
4. How to Apply Tinted Moisturizer in 5 Steps
4.1. Step 1: Dispensing the Tinted Moisturizer
When it comes to implementing how to apply tinted moisturizer effectively, moderation is key. A small amount, approximately the size of a pea, is generally sufficient for your entire face. Starting conservatively prevents overapplication, which can result in a cakey appearance. Remember, you can always add more if needed, so it's best to start with a modest amount.
Dispense a small amount, about the size of a pea, onto your fingertips (source: Pinterest).
4.2. Step 2: Dabbing or Blending the Product with a Brush
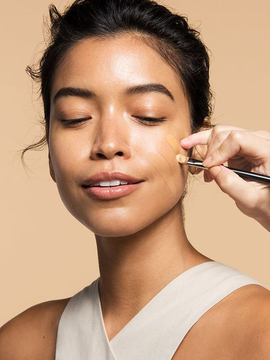
The method of application is a matter of personal preference. Your fingers provide warmth and allow the tinted moisturizer to meld with your skin effortlessly. This approach is ideal for a natural, dewy finish. If you prefer precision and even coverage, knowing how to apply tinted moisturizer with a brush or sponges are excellent bonuses. Brushes enable you to control the product's placement, while sponges work well for a flawless airbrushed look.
Begin by applying dots to your forehead, cheeks, nose, and chin (source: Pinterest).
4.3. Step 3: Applying the Tinted Moisturizer Evenly
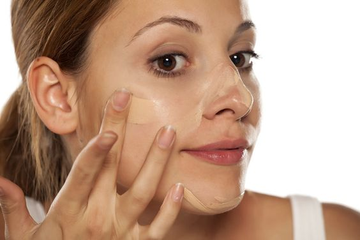
Even application is key to achieving a flawless result. Begin by dotting or lightly spreading the product across your face and neck. Pay extra attention to areas that require more coverage, such as redness, blemishes, or uneven skin tone. Ensure the product is blended seamlessly along your hairline, jawline, and around the edges of your face to avoid any noticeable demarcation lines. Always remember that the goal is to create a harmonious, radiant complexion.
Distribute the product evenly across your face and neck (source: Pinterest).
4.4. Step 4: Building Coverage (If Needed)
One of the advantages of using a tinted moisturizer is its buildable nature. If you find that you need more coverage in specific areas, such as under-eye circles or blemishes, you can easily layer additional product. To do this, allow the initial layer to set for a minute or two before applying the second layer. Building coverage gradually ensures that your skin looks flawless without appearing heavy or cakey.
Choose the application method that suits your preference (source: Pinterest).
4.5. Step 5: Blending and Feathering
The final step in the application process involves blending and feathering the product to achieve a seamless look. Use gentle, outward strokes with your chosen application tool—fingers, brushes, or sponges—to ensure there are no visible lines or harsh edges. Concentrate on blending the product along the edges of your face, hairline, and jawline to create a natural transition between your skin and the tinted moisturizer. This meticulous blending results in a radiant complexion that appears as though you woke up with flawless skin.
Blend gently with outward strokes to avoid harsh lines (source: Pinterest).
5. Conclusion
Now that you're well-versed in the art of how to apply tinted moisturizer, you're equipped with the knowledge to create a radiant, even complexion every day. Tinted moisturizer not only offers lightweight coverage but also provides essential hydration and sun protection. How to use tinted moisturiser a makeup essential that can simplify your daily routine while keeping your skin healthy and glowing. If you're searching for more beauty secrets, don't forget to explore Japan With Love's blogs.
コメントを残す